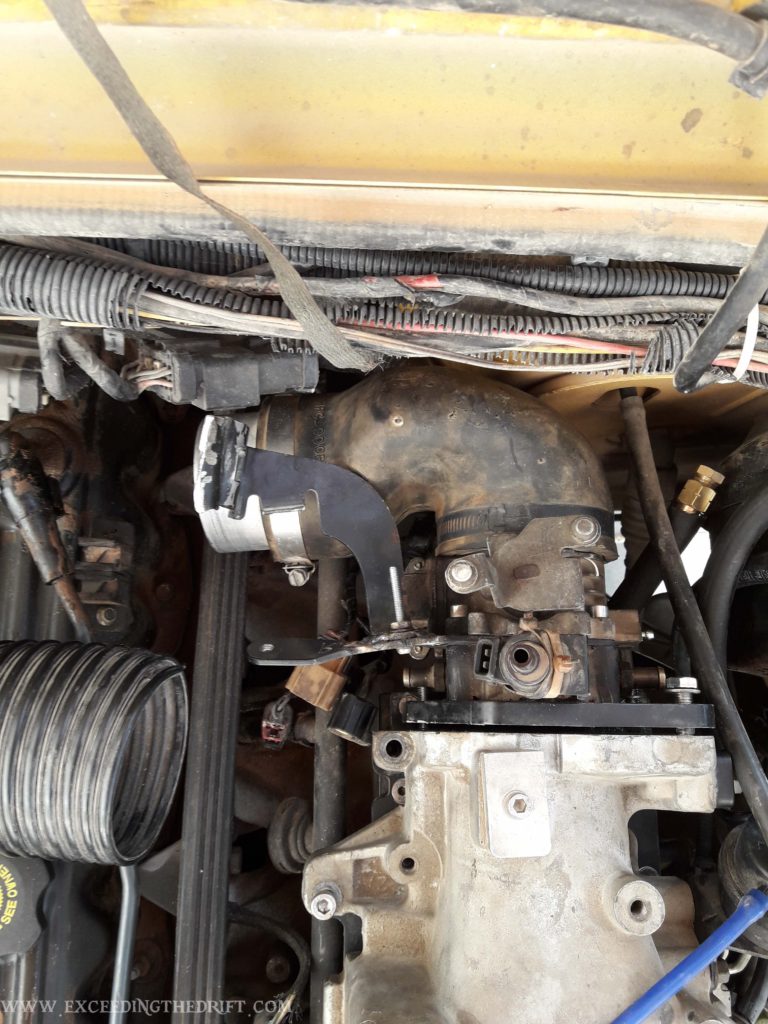
Evry (Captain my Captain) helping with me with assembly of the throttle body and spacer assembly.
During my last trip to the Wahiba there were a few climbs that Yellow couldn’t get up, partly due to a worn out shifter and much lower power to weight ratio then the rest of the cars in the team – JKs and a FJ Cruiser. This would not do so I bought a supercharger from Evry after he parted out his black jeep… I tried to buy his silver jeep which is also supercharged but he wouldn’t sell it to me so I got his old supercharger instead.
The supercharger spent about 2 months sitting beside the front door between year end stuff and annual leave, but when I got back from Canada I started working on it. There were no instructions on how to do it so I had find some online and ended up finding bullshitkorner on youtube. This guy lives in Calgary (I think) and does all kinds of mechanic videos some of which are on a jeep TJ. He usually starts or finishes a video with some cursing and mini-beer review which makes me laugh a little. Anyway between these two videos (one and two) I was able to get most of the details needed to install the supercharger.
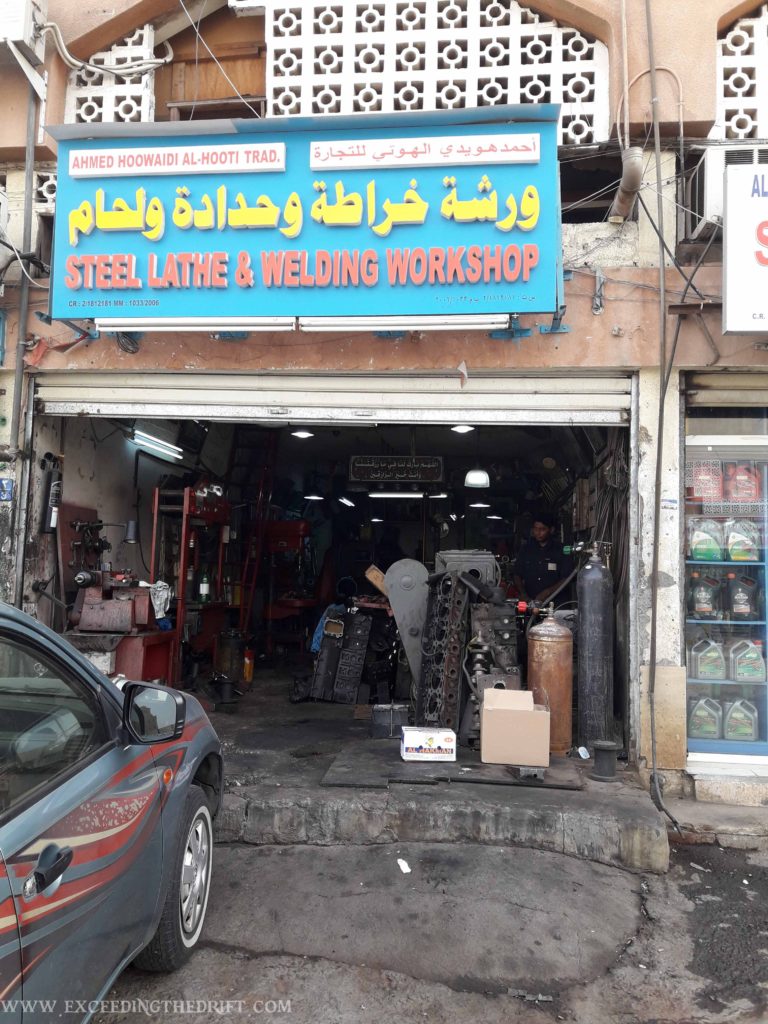
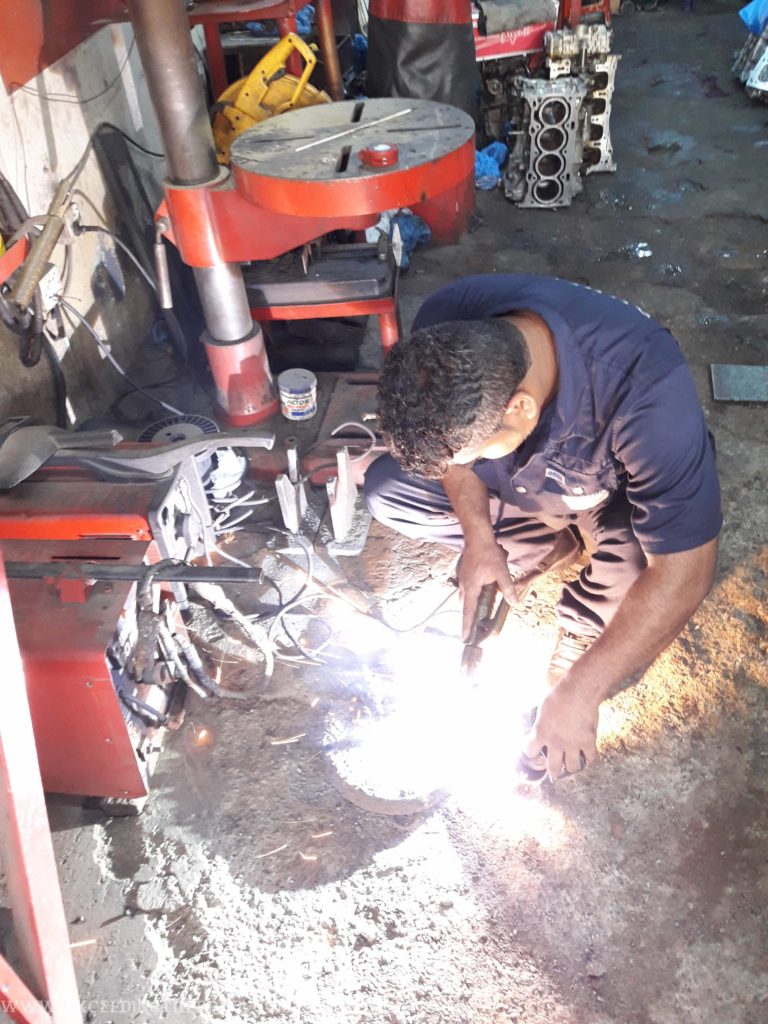
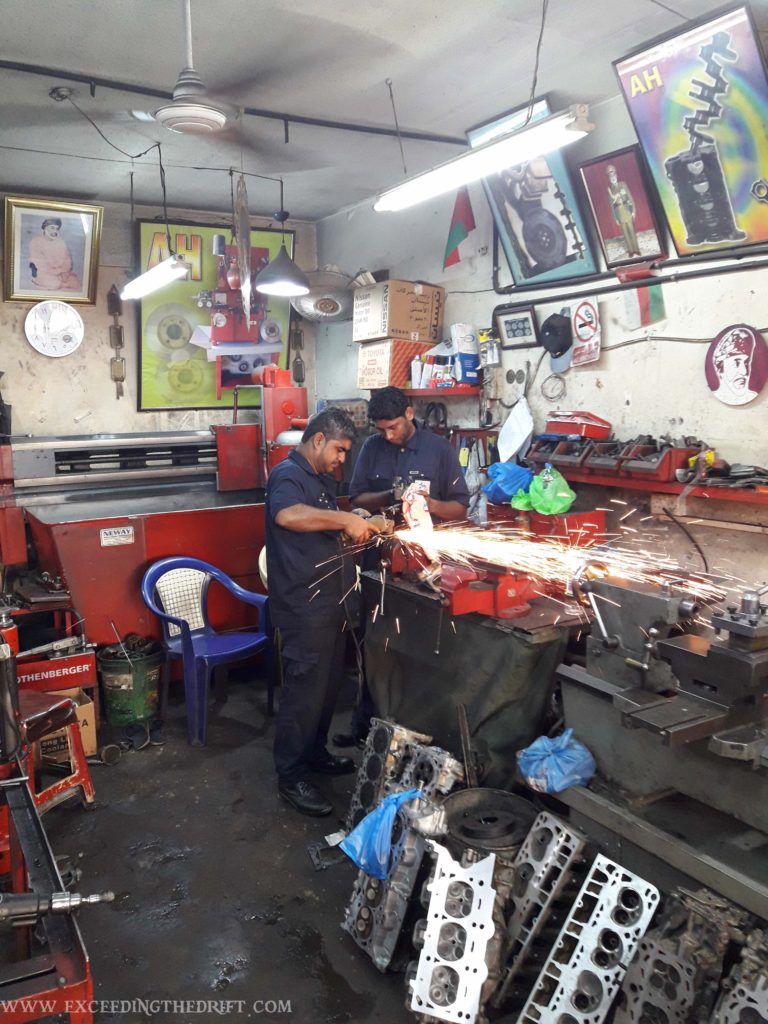
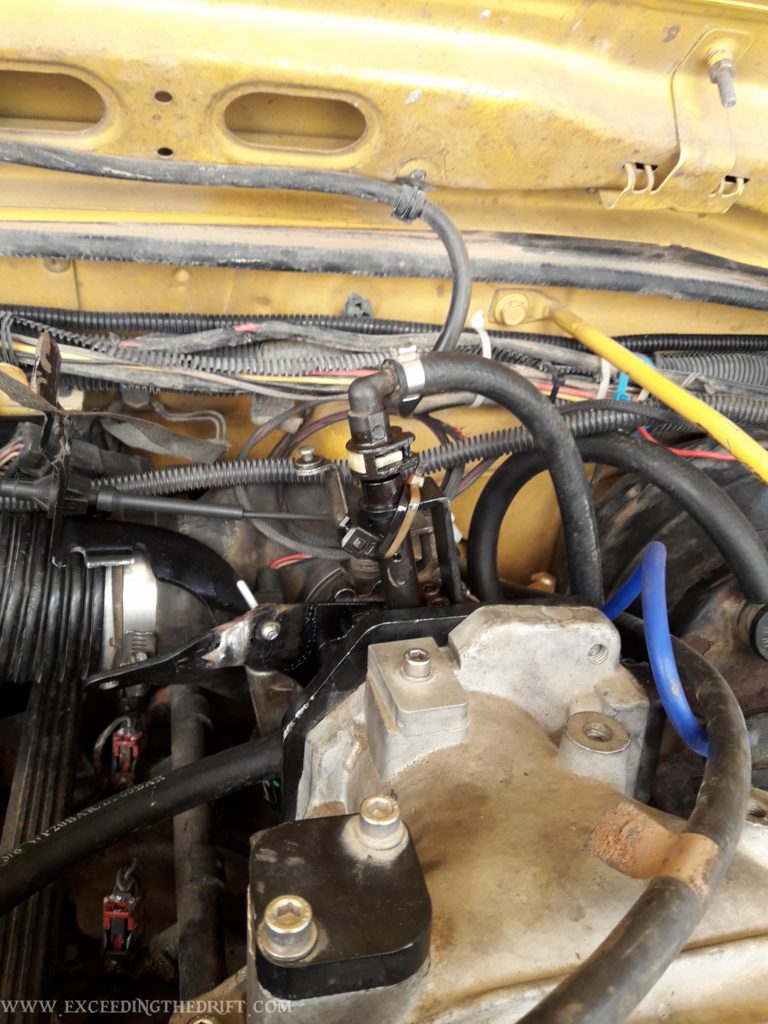
I brought gasket compound back from Canada which Evry hated, mainly because it is brown, which we used to seal all the parts together. The kit is supposed to come with a special bracket to hold the cable, instead I got a second standard cable holder. After trying to bend them or figure out a way to make it work I conceded that this would require a welding job so the next day Evry and I went to his favorite machine/welding shop to get the bracket welded to the throttle body.
This install, and for most jeep aftermarket setups, adds a seventh injector to push fuel into the suction of the supercharger under boost. This requires replacement of the OEM fuel line with one that has a tee on it to bring fuel to the new injector. On the kit I had one of the fuel connector clips was broken and the I had to go to Wadi Kabir to find a new one. This took most of a morning but eventually I was able to get one from an old 4 cyclinder Jeep engine.
This connector was attached to a hard plastic tube which I couldn’t remove. Instead I inserted this hard plastic into the new fuel line but it didn’t go very far and I was afraid it would pop off while off-road. To prevent this I added a second hose clamp and wired it to the one holding the plastic tube in the fuel line. I was still a little worried so I decide to add a OEM fuel line to my spares kit – this saved my butt the next time I was in the desert because the new line got snagged by some sand and the clips broke spraying fuel all over the engine bay. Once the fire risk had passed a quick install of the OEM fuel line and I was off again.
For the connection of the vacuum lines we ended up looking at Evry’s jeep to determine which hoses go where. There are ten different locations that need either vacuum, atmospheric or will see positive pressure under boost. The spacer on Evry’s supercharger had a 4 or 5 ports on the vacuum side which makes it a lot simpler to connect the lines one to one. On my spacer there are only three so I had to combine them which has created some problems.
Initially I had planned to build a large bore “vacuum manifold” and run everything off of that but I found at least one of the fuel vacuum lines was broken so I decide to set up a dedicated vacuum line to the brake drum, because it is the one thing that should always work, and use the other port for everything else.
This seems to work most of the time, but at certain RPM either the amount of vacuum needed by some of the systems or the amount generated falls and air conditioning vent position moving from face to defrost. I discovered that the Jeep is supposed to have a vacuum reservoir to hold a sufficient amount of vacuum to bridge periods when the engine vacuum levels drop. There is a check valve to prevent filling of the reservoir from the engine. This reservoir is missing and I think the check valve is passing which also help explain why you smell gas under high loads – not only from leaks. 😉
On the electronics side, there is a control box which controls the seventh fuel injector. Input for that box is all the ECM inputs and air manifold pressure downstream of the supercharger. This I mounted by drilling a hole through the wheel well and running a bolt through. One Evry’s jeep he used a couple of tie wraps to hold them it in place but I wanted a more solid connection. I’m told that there is some tuning that should be done for this installation but Simon never did run any thing but a standard computer so we will have to see about that.
Most of it was actually pretty easy. For a more concise set of steps here’s the order I did everything:
1) Remove the throttle body from the air manifold and the fuel line from the fuel rail (suggest you buy the tool to remove the clips). The throttle cable will need to disconnected from the throttle body.
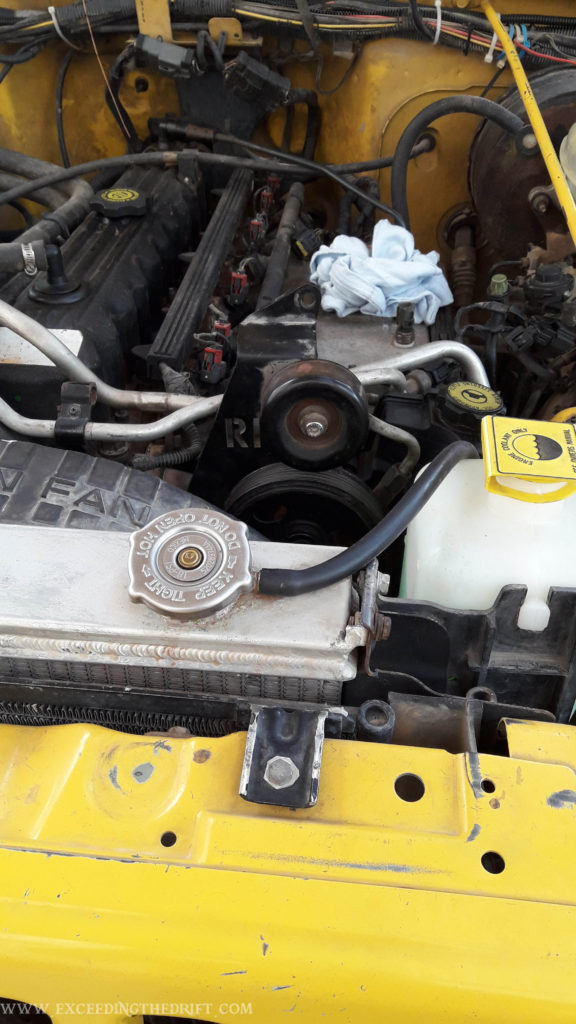
Make sure you don’t drop anything into the engine. When installing the air tray and spacer only hold one bolt at a time and work methodically.
2) Plug the air temperature senor and vacuum ports on top of the air manifold.
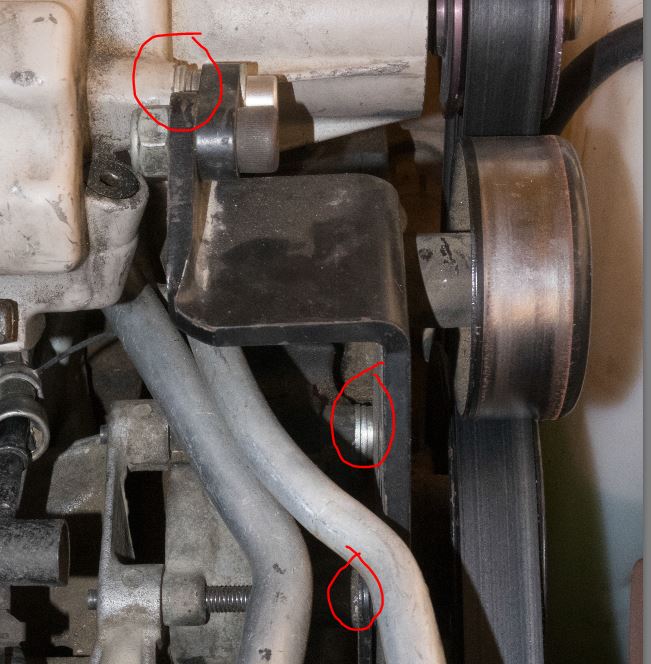
3) Install the bend idler behind the steering pump pulley. The steering pump bolts are very stubborn… this took a while.
4) Dry fit air tray and then a spacer plate and bend power steering and air conditioning lines to allow for clearance. Evry used a block of wood and a hammer to adjust the lines – seemed wrong but it worked and didn’t damage the lines.
5) Install the air tray and spacer plate with gasket maker between the parts to the air manifold. I used locktite on almost all the bolts.
6) Bolt throttle body, throttle cable bracket and spacer to the supercharger. Use gaskets or gasket maker to seal the parts. The air temperature sensor will be bolted to the throttle body spacer.
7) Install the supercharger to bolt onto the spacer plate. Reconnect throttle cable, throttle position sensor and air temperature sensors cables. The air temperature cable will have to be extended.
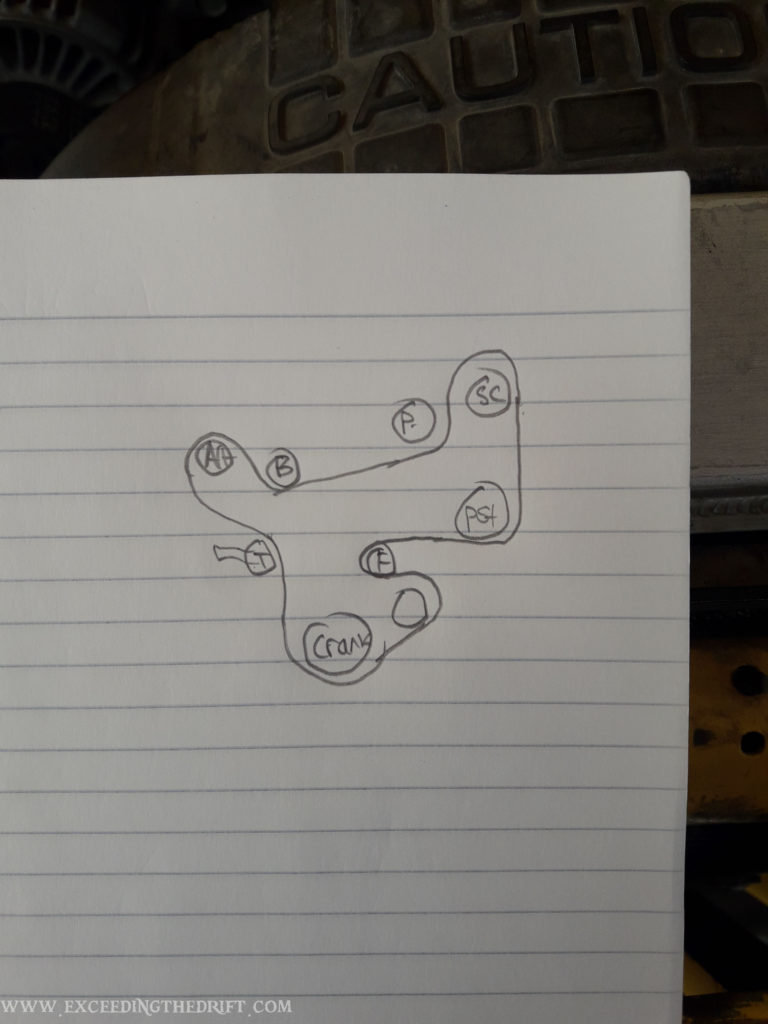
8) Install fan belt and check alignment of the bend idler with the supercharger pulley and power steering pump pulley. If it is off then add washers between the bend idler bracket and both the power steering pump and supercharger housing shim it out.
9) Connect vacuum and pressure lines, including the air filter on the engine block. Part of the challenge here was finding the fittings and hose to do the job.
10) Connect computer and 7th injector control wiring. I mounted the computer to the left wheel well.
11) Install air ducting and air filter.
12) Re-connect the fuel line to the fuel rail and the 7th injector. I flushed the line by cycling the key a few times and spraying fuel into bottles before connecting to the injectors.
13) Cross fingers and turn the key.
